


In today’s digital world, visual stories drive the most engagement on social media platforms. This guide offers a clear path for anyone to start a successful channel. You do not need a technical background to produce high-quality work for your audience.
Many people think making professional clips requires expensive software or complex training. However, this beginner friendly course breaks down those barriers by using intuitive tools. It is truly rewarding to see your creative ideas come to life so quickly.
The capcut app provides powerful features for any video editing project. By the end of this course, you will have the skills to grow your online presence. This process makes sharing your unique message simple and fun for everyone.
Key Takeaways
- Discover how to use professional features on any mobile or desktop device.
- Master the art of making engaging clips without high financial costs.
- Learn practical techniques to capture viewer attention within the first few seconds.
- Access AI-powered features to speed up your overall production time.
- Develop a steady workflow that supports consistent long-term growth.
Why CapCut Is the Ideal Tool for Creating Viral YouTube Videos
Aspiring creators often struggle to find a balance between professional tools and easy-to-use interfaces. The capcut video editor bridges this gap by offering high-end capabilities within a simple layout. This unique position makes capcut exceptionally suited for producing high-quality YouTube content that captures attention.
You can start your project on mobile and move to the desktop version for precise editing tasks. Everything stays in sync through secure cloud storage. This flexibility allows you to work on your videos whenever inspiration strikes, regardless of your location or device.
The capcut ecosystem provides a massive library of copyright-free media assets to keep your channel safe. This editor includes professional features like AI-driven templates that speed up your editing workflow significantly. These assets help your videos stand out without requiring a massive budget or years of prior experience.
- Smart AI technology streamlines your entire creative process.
- One-click sharing options allow for instant publishing to multiple social platforms.
- The free tier provides access to tools usually locked behind expensive subscriptions.
By using these resources, you can maintain a consistent posting schedule. This efficiency is vital for anyone looking to grow a loyal audience on YouTube today.
Understanding What Makes YouTube Videos Go Viral
https://www.youtube.com/watch?v=MOz80pQckgo
Before you open your editor, you must grasp why some clips dominate the algorithm while others fade away. Creating a YouTube video viral requires deep strategic planning and audience knowledge. Success depends on your ability to follow current trends while maintaining a unique brand voice.
Key Elements of Viral Content
A video usually becomes viral when it earns 5 million views in a week or less. Psychological triggers like surprise and relatability compel viewers to share your content with friends. Posting consistently is the most reliable way to build and retain a loyal audience over time.
Viral Video Formats and Trends
Popular formats include challenge videos, reaction clips, and educational tutorials. Creators often use “trend-jacking” to capitalize on hot topics and current events. Applying advanced editing techniques ensures your videos meet the high standards of modern viewers.
Audience Engagement Fundamentals
The first five seconds determine if a viewer stays or leaves. Using capcut allows you to insert pattern interrupts that keep the audience focused. This capcut tool simplifies the editing process for making high-energy social videos.
| Metric | Target | Impact |
|---|---|---|
| Initial Views | 5 Million | Algorithm Boost |
| Hook Length | 3-5 Seconds | High Retention |
| Visual Style | Consistent | Brand Trust |
“The secret to virality is not just the content, but the conversation it starts among the viewers.”
Mastering these fundamentals creates multiple opportunities for breakthrough success. While not every upload will explode, using these principles improves your overall channel performance. Strategic planning ensures you are ready when the algorithm finally picks up your work.
Getting Started with CapCut Video Editor
Setting up your production environment is the first step toward mastering the art of modern video creation. This versatile tool caters to every creator, from the casual phone user to the dedicated YouTuber.
Choosing Your Platform: Mobile, Web, or Desktop
Selecting the right platform depends on your specific production needs and hardware. Mobile apps provide amazing speed for social clips, while the desktop version offers more power for professional editing.
You can also access the web-based version through your browser for quick changes without any installation. This flexibility ensures you can edit whenever inspiration strikes.
Installing and Setting Up Your Workspace
To begin, visit the official website for a direct capcut video editor download or use the App Store for mobile devices. Follow the installer instructions to set up the software on your computer quickly.
Log in using your TikTok, Facebook, or Google credentials to enable cloud synchronization. This keeps your project files accessible across all your devices for a seamless workflow.
Understanding the CapCut Interface
The workspace organizes your media into a clean library for easy access and better organization. Efficiency is key when managing dozens of clips for a viral production.
Even a beginner can quickly master the timeline, where you arrange layers of video and audio. Use the powerful editor to refine every frame of your video for professional results.
The preview window allows you to see your changes in real-time as you master the editing process. Customizing your panels helps you build a workspace that fits your personal creative style.
CapCut Video Editing Mastery: Create Viral YouTube Content Without Experience – Complete Step-by-Step Guide
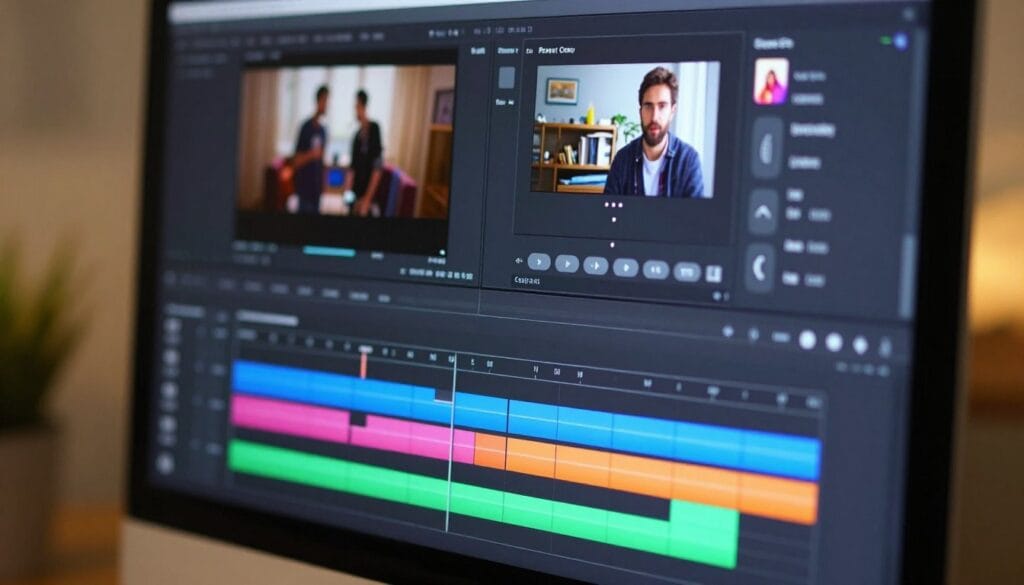
Mastering high-quality video production is now accessible to everyone thanks to intuitive software. You do not need years of expensive training to produce content that stands out in a crowded feed. By following a structured workflow, you can transform basic media into a polished masterpiece that captures attention. These professional techniques will help you navigate the editing process with confidence and speed.
Step 1: Import and Organize Your Media Files
Before you begin your first edit, you must gather all your resources in one place. Using a structured approach from the start saves hours of frustration during the later stages of production. Having all your files ready ensures that your creative editing flow remains uninterrupted.
Uploading Videos, Images, and Audio
Start by selecting the “Import” button to bring your files into the workspace. You can also drag and drop your videos directly from your computer folder into the media library. This process includes adding your primary footage, secondary images, and any custom audio files you plan to use.
Organizing Assets in Your Media Library
Keep your workspace clean by creating folders for different content types. Give each file a descriptive name so you can find specific clips quickly when you need them. This pro organization habit prevents confusion when your project grows in size and complexity.
Step 2: Master Core Editing Techniques
The timeline is where your story truly comes to life. It allows you to see the visual sequence and make precise adjustments to the timing of every scene. Learning how to manipulate this space is the key to a professional-looking video.
Trimming and Splitting Clips
Remove unwanted footage by dragging the edge handles of your clips on the timeline. To divide a long segment, position the playhead at the exact moment you want a break and use the split tool. This simple editing action allows you to rearrange your narrative and cut out any mistakes.
Arranging Clips for Story Flow
Drag your segments into a logical order to build a strong narrative progression. Start with a hook to grab the viewer and follow with supporting content that maintains their interest. A well-organized edit ensures the audience stays engaged from the first second to the last.
Using Ripple Edits and Jump Cuts
Use ripple edits to close gaps automatically when you delete or shorten a segment. This keeps your sequence tight without manual adjustments. Incorporate jump cuts by removing small pauses in speech to create a fast-paced, energetic feel that is perfect for modern vlogs.
Step 3: Add Transitions and Visual Effects
Visual variety keeps the viewer’s eyes glued to the screen. Capcut offers a vast library of tools that can turn a simple video into a cinematic experience. These additions bridge the gap between different scenes smoothly.
Applying Smooth Transitions Between Scenes
Choose from various transitions like fades, slides, or zooms to connect your clips. Simply drag your chosen transitions between two segments on the timeline. Adjust the duration to make the change feel either subtle and smooth or fast and dramatic.
Incorporating Visual Effects and Filters
Enhance the mood of your project by applying cinematic filters or modern effects. These pro tools help create a consistent aesthetic across all your videos. Whether you want a vintage look or a bright, clean style, the effects library has everything you need.
Step 4: Create Compelling Text and Captions
Clear text elements help reinforce your message and keep viewers informed. Many people watch YouTube content in public places, so visual text is essential for communication. It adds an extra layer of professionalism to your work.
Designing Eye-Catching Titles
Access the text tool to select from pre-designed templates that match your video theme. Customize the font, size, and color to make your titles pop against the background. Adding subtle animations to your text can make the information feel more dynamic and engaging.
Adding Auto-Captions for Accessibility
Use the AI-powered feature to turn your spoken audio into written subtitles automatically. This capcut tool saves time and makes your content accessible to the hearing-impaired. Always review the generated text to ensure every word is accurate and matches your voice.
Step 5: Perfect Your Audio Mix
The quality of your sound is just as important as the visual quality. A poor audio mix can drive viewers away, even if the footage looks amazing. Taking the time to balance your tracks makes a massive difference in the final result.
Adding Background Music and Sound Effects
Browse the royalty-free library to find the perfect background music for your project. Drag the music file onto a dedicated audio track below your footage. You can also add sound effects like “whooshes” or “clicks” to emphasize certain movements or transitions on screen.
Balancing Audio Levels
Adjust the volume of each track so your background music does not overwhelm the dialogue. Use visual meters to check that your sound stays within a safe range to avoid distortion. Using headphones while you edit helps you catch subtle audio issues that speakers might miss.
| Editing Platform | Primary Import Method | Key Benefit |
|---|---|---|
| Mobile App | Tap “New Project” | Fast touch-based control |
| Web Version | Click “New Video” | Access to cloud assets |
| Desktop Software | Press “Import” Button | Advanced multi-track tools |
Quality audio is the hidden ingredient that makes an amateur video feel like a professional production.
Leveraging AI-Powered Features for Viral Success
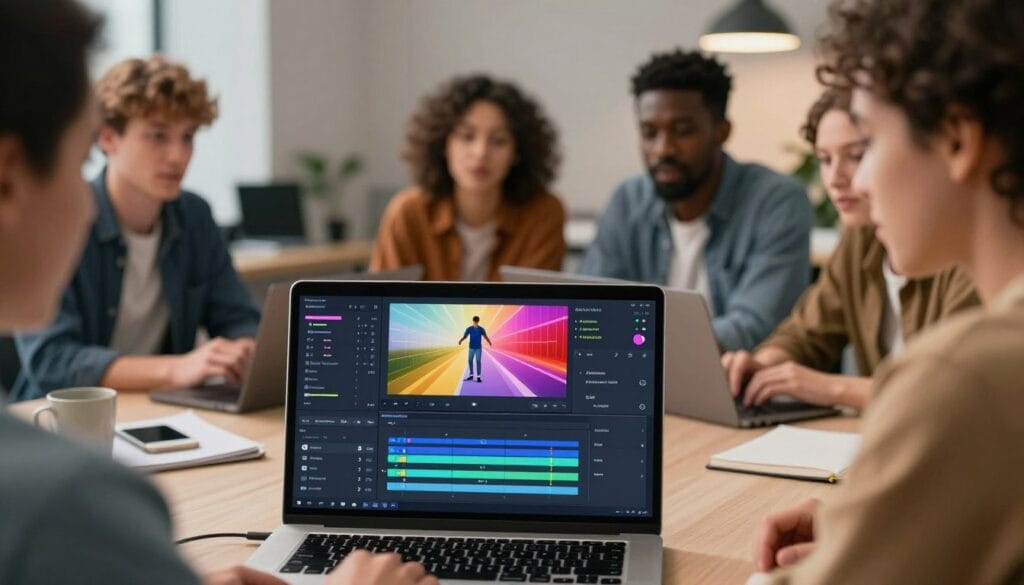
Smart automation is the secret weapon for many successful YouTubers, and CapCut puts these professional features right at your fingertips. These tools reduce editing time while elevating your final production quality. Beginners can now achieve results that once required expensive software and years of training to master.
By using artificial intelligence, you can focus on storytelling rather than technical hurdles. This approach helps you create high-volume content for your channel without burning out. Whether you need cinematic effects or automated subtitles, AI handles the heavy lifting so your videos stand out in a crowded feed.
AI Auto-Captions for Maximum Engagement
The AI auto-captions tool automatically transcribes your dialogue with impressive accuracy. This is vital because many viewers watch videos with the sound turned off. The system generates synchronized subtitles in over ten languages to help you reach a global audience instantly.
You can also customize the text style to match your brand’s unique look. This feature improves viewer retention and makes your work more accessible to everyone. High-quality captions ensure that your message is clear even in noisy environments.
Smart Background Removal Tool
The smart background removal tool uses advanced detection to isolate subjects with a single click. This allows you to create professional presentations or green-screen effects without needing a physical studio. You can swap a messy room for a sleek, high-quality digital environment.
Additionally, the Seedream 4.0 image generator creates custom graphics for your background or thumbnails from text prompts. This solves the challenge of finding stock media on a tight budget. You can turn simple ideas into detailed visuals that keep your audience focused on your subject.
AI Video Maker and Text-to-Video Generation
CapCut includes a powerful AI Video Maker that builds scenes from simple scripts. This technology uses cutting-edge models like Veo 3.1 and Sora 2 to create realistic visuals and smooth camera movements. It is perfect for creators who want to produce video sequences without filming everything themselves.
The text-to-video generator allows you to describe a scene and watch it come to life. These tools provide cinematic shots that look like they were filmed by a pro. You can maintain a coherent visual narrative across your entire project effortlessly.
Motion Tracking and Object Detection
Advanced motion tracking automatically follows a subject or object through the frame. You can attach text overlays or special effects to moving elements without manual keyframing. This ensures your graphics stay perfectly aligned as the action happens on screen.
Object detection also helps in applying blurs or highlights to specific parts of your footage. Using motion tracking adds a dynamic feel to your work, making it look much more polished. It is a great way to point out key details in tutorials or fast-paced vlogs.
Auto-Highlight Generation for Shorts
The editor simplifies the process of making YouTube Shorts with auto-highlight generation. The AI analyzes long-form footage to find the most exciting moments based on audio and visual cues. This allows you to create short-form templates and clips for TikTok and Reels in seconds.
You can also use the one-click split scene feature to organize your project quickly. It identifies natural breaks in your videos, saving you hours of manual reviewing. This speed is essential for keeping up with daily trends and staying relevant on social media platforms.
| AI Feature | Primary Function | Key Benefit |
|---|---|---|
| Auto-Captions | Voice-to-text transcription | Higher global accessibility |
| Video Maker | Script-to-scene generation | Saves filming time |
| Background Removal | Subject isolation | Pro studio appearance |
| Auto-Highlight | Engagement analysis | Viral Shorts creation |
| Tracking Effects | Dynamic object following | Polished visual flow |
Advanced Techniques to Boost Video Virality
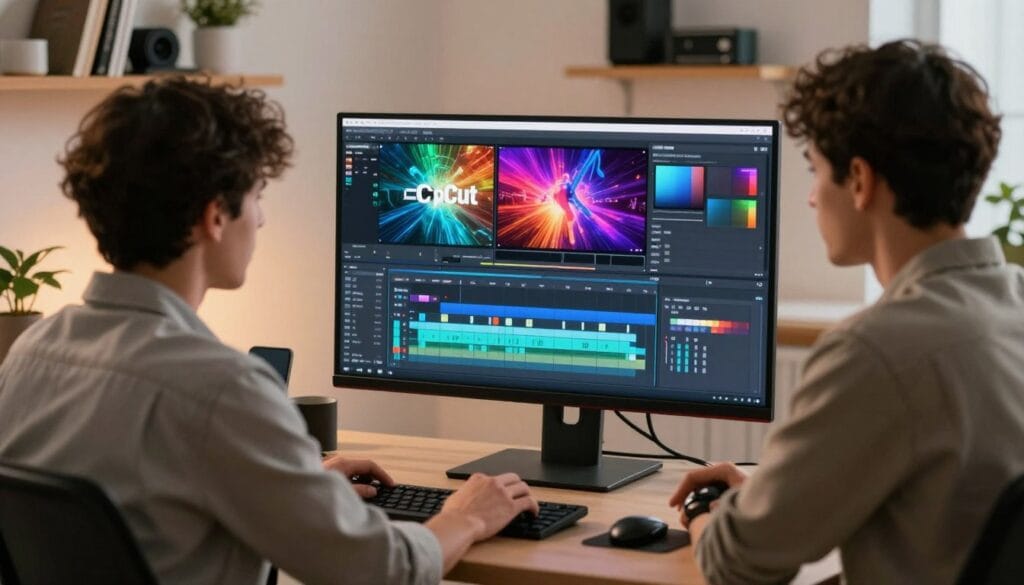
Transforming average footage into viral hits requires a deep dive into sophisticated editing methods. These pro strategies create the polish needed to capture viewer attention immediately. By mastering these techniques, you ensure your content stands out in a crowded digital landscape.
Sophisticated creators often use complex layers to build visual depth. These methods help separate basic social media posts from high-end productions. Focusing on the details will encourage more likes and shares for your videos.
Speed Ramping and Slow Motion Effects
Speed ramping allows you to control momentum using custom speed curves. You can accelerate through dull moments and slow down to emphasize high-action scenes. This creates a rhythmic flow that keeps the audience hooked on your video.
Using slow motion adds a cinematic feel to reaction shots or big reveals. CapCut provides smooth playback even when you drastically reduce the speed. This level of control is essential for high-quality edits that look professional.
Color Grading for Professional Appeal
Proper color grading transforms flat footage into a visual masterpiece. While color correction fixes exposure, grading sets the emotional mood of your videos. Use the capcut adjustment tools to enhance vibrancy and balance.
You can manually adjust saturation, temperature, and shadows to achieve a specific look. This process ensures your content looks consistent across different devices. A professional color profile makes your video appear much more expensive than it actually is.
| Adjustment Tool | Creative Function | Visual Impact |
|---|---|---|
| Saturation | Boosts color intensity | Vibrant and lively visuals |
| Temperature | Adjusts Warm/Cool tones | Sets the emotional atmosphere |
| Highlights | Recovers bright details | Creates a balanced, clean look |
Keyframe Animation and Motion Graphics
Keyframe animation gives you precise control over element properties across time. You can animate text motion, scale changes, and rotation with ease. These dynamic design choices rival dedicated animation software for social media video.
Mastering these edits allows for smooth transitions and professional motion graphics. This level of pro detail encourages viewers to share your videos across platforms. It adds a layer of design that keeps the eye moving throughout the clip.
Creative Effects: Clone, Chroma Key, and Masking
Explore creative effects like the clone tool to duplicate subjects within a single frame. The chroma key feature allows you to replace solid backgrounds with custom environments. These editing tricks add immense production value to any project.
- Advanced effects: Utilize masking, teleportation, and fire overlays for impact.
- Capcut smart tools: Apply motion tracking for objects and multi-layer editing.
- Visual spectacle: Create ghost illusions and bomb explosions to surprise your audience.
Successful creators use these advanced features to build a unique visual identity. Consistently applying high-quality editing will naturally improve your channel’s growth. High-end effects make your capcut projects look like they came from a big studio.
Advanced tools in capcut empower mobile creators to achieve results previously reserved for desktop suites.
Exporting and Publishing Your Viral YouTube Video
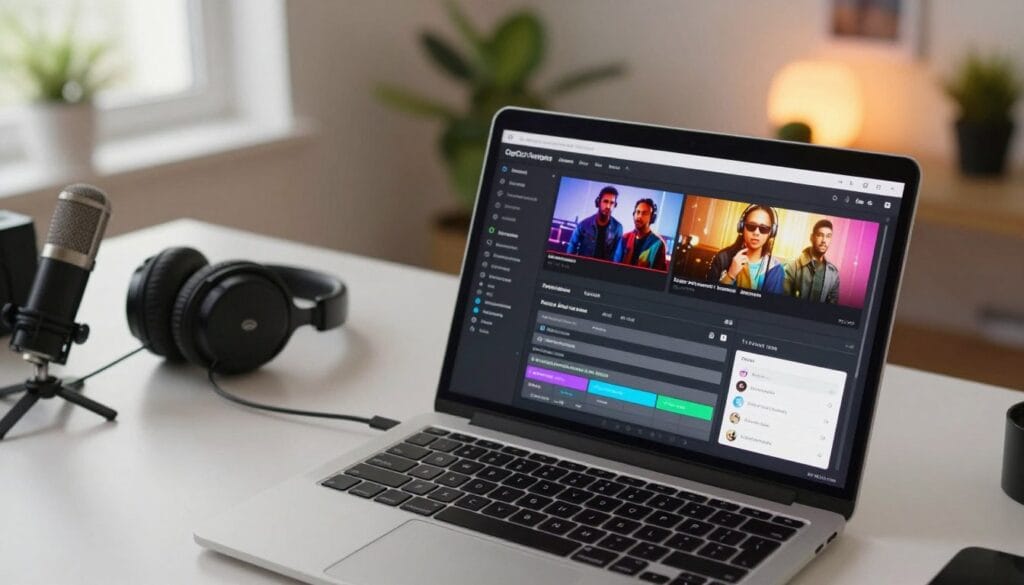
Converting your timeline into a high-quality file is the final bridge between your vision and your audience. This way, you ensure your hard work looks professional on any screen. After completing your editing, click the export button to customize your output and prepare for launch.
Selecting Optimal Export Settings
The capcut editor offers several settings to balance visual fidelity and file size. Choosing the right point of balance ensures your videos upload quickly without losing essential detail. You can select optimal settings like “recommended” to let the software handle the technical bitrate for you.
Resolution, Frame Rate, and Format Options
High-quality videos require modern standards to perform well in the YouTube algorithm. Selecting the correct technical settings helps maintain clarity even after the platform applies its own compression. Use the table below to find the best configuration for your content.
| Feature | Recommended Value | Best For |
|---|---|---|
| Resolution | 1080p or 4K | Standard HD / High-End Quality |
| Frame Rate | 30fps or 60fps | Vlogs / Gaming and Action |
| Format | MP4 | Universal Web Compatibility |
Direct Sharing to YouTube and Social Media
Capcut simplifies the distribution process by offering built-in sharing tools for creators. This feature allows you to publish your video to YouTube or TikTok without needing to download files to your local drive first. It is an efficient method to keep your content schedule on track across multiple platforms.
- Publish directly to YouTube to save storage space.
- Share to TikTok or Instagram Reels with one click.
- Ensure your videos look crisp with auto-formatting for every destination.
Running Copyright Checks Before Publishing
Protect your channel by using the internal scanner to identify potential issues with your audio. It is vital to scan your editing project for flagged music or clips before you finish the export. This smart step helps you avoid Content ID claims and ensures your video remains eligible for monetization.
Conclusion
You now have the foundation to transform your creative ideas into viral reality. Our CapCut Mastery course provides every tool you need to plan and publish eye-catching content. You can master video editing without any prior experience by following our structured way of learning.
This video editor works perfectly on your desktop or mobile device to save you time. You can use advanced tools like background removal and smart captions to enhance your videos. These AI features help you produce media that looks like it came from a professional studio.
During your training hours, you will develop essential skills by finishing three unique projects. You will create a social clip, a YouTube video, and a cinematic project. These projects ensure you edit like pro creators at every point of the process.
Consistency is the key to growth on any social platform. Leverage our templates and dialogue editing tips to build a sustainable workflow. Start your capcut journey today and join the next generation of content creators.
| Course Project | Target Platform | Key Focus |
|---|---|---|
| 30-Second Clip | TikTok / Reels | Speed Ramping & Effects |
| 3-Minute Video | YouTube | Sound Design & Captions |
| Cinematic Short | Portfolio | Color Grading & Keyframes |


 By
By